Imagine being able to peer inside your walls, snake through drain pipes, or inspect the depths of your car’s engine without tearing anything apart. That’s exactly what a borescope puts in your hands—a visual superpower that transforms how you approach repairs and inspections at home. The challenge, however, is navigating a crowded market filled with confusing specifications, wildly varying price points, and technical jargon that makes choosing the right model feel overwhelming. Should you prioritize waterproof ratings or camera resolution? Is an affordable borescope actually reliable, or are you throwing money away? This guide cuts through the noise and gives you a straightforward framework for selecting a borescope inspection camera that matches your DIY ambitions without draining your wallet. We’ll walk through the features that genuinely matter—from waterproof capabilities to cable flexibility—so you can invest in a tool that delivers real value on every project you tackle.
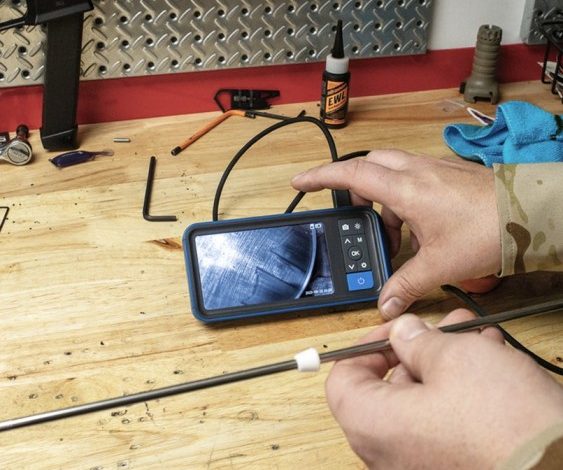
A borescope inspection camera is essentially a miniature camera mounted on the end of a long, flexible or semi-rigid cable, designed to reach places your eyes simply cannot. It transmits a live video feed to a screen—whether that’s a built-in display, your smartphone, or a computer—giving you a clear view inside enclosed or hard-to-reach spaces. For DIY enthusiasts, this translates into an incredibly versatile tool that eliminates guesswork from dozens of common projects.
Consider the everyday scenarios where a borescope proves invaluable. Plumbing inspections become straightforward when you can visually locate a clog or crack deep within a drainpipe. Electrical work gets safer when you can trace wiring paths behind walls before drilling. Automotive repairs benefit enormously—you can examine cylinder walls, check for carbon buildup, or inspect behind dashboard panels without hours of disassembly. Home buyers and renovators use them to spot hidden water damage, pest infestations, or structural issues inside wall cavities and under floors.
 The real value lies in prevention. Instead of ripping open drywall based on a hunch or paying a mechanic hundreds of dollars for a diagnostic inspection, you gather visual evidence first. This saves time, reduces unnecessary destruction, and helps you make informed decisions about whether a repair is within your skill set or requires professional help. However, these benefits only materialize when you choose a model suited to your specific tasks—which brings us to the features that actually matter when shopping for one.
Key Features to Consider in an Affordable DIY Borescope
Understanding Borescope Waterproof Ratings
Most DIY inspections involve moisture—whether you’re snaking through drain lines, checking outdoor HVAC units, or investigating a damp crawl space. A borescope waterproof rating tells you exactly how much exposure the camera probe can handle. IPX7-rated devices withstand temporary submersion up to one meter for 30 minutes, making them suitable for occasional wet encounters. IPX8 goes further, allowing continuous submersion at greater depths, which is essential if you regularly inspect active plumbing or submerged structures. For most home DIYers, IPX7 covers the majority of tasks, but if plumbing work is your primary focus, invest in IPX8 protection. Remember that waterproof ratings typically apply only to the camera and cable—not the display unit or connection points.
Finding the Balance: Affordable Borescopes vs. Performance
The affordable borescope market has exploded, offering functional options at surprisingly low price points. The key is knowing where to compromise and where to hold firm. Prioritize resolution of at least 720p for usable image clarity, a cable length between three and five meters for versatility, and semi-rigid flexibility that holds its shape in pipes yet bends around corners. You can reasonably compromise on extras like built-in screens or recording capabilities since most smartphones handle display duties well. Be cautious with the cheapest options—units with vague specifications, no stated waterproof rating, or suspiciously low resolution often produce unusable footage that defeats the tool’s entire purpose.
Additional Essential Specifications
Beyond waterproofing and price, several specifications directly impact usability. Look for adjustable LED lighting with multiple brightness levels, since over-exposed images in reflective pipes are as useless as dark ones. Cable diameter matters—smaller probes (5.5mm or less) access tighter spaces but may sacrifice image quality compared to 8mm options. Check compatibility with your devices; Wi-Fi models offer cable-free smartphone connections while USB versions provide more stable feeds to laptops. Finally, evaluate battery life if you’re choosing a wireless model, aiming for at least two hours of continuous use to complete inspections without interruption.
Comparing Borescopes for Different DIY Projects
The Best Borescope for Plumbing and Wet Environment Inspections
Plumbing work demands a borescope built to handle full water contact without hesitation. Prioritize an IPX8 waterproof rating, which ensures the camera probe survives prolonged submersion—critical when you’re threading through active drain lines or inspecting water-filled P-traps. A semi-rigid cable is equally important here, as it needs enough backbone to push through bends in pipes without buckling, yet enough flex to navigate 90-degree elbows. Lighting becomes your lifeline in dark, reflective pipe interiors; look for models with adjustable LED brightness so you can dial down glare off wet surfaces while still illuminating problem areas. For wet environment inspections, choose a cable length of at least three meters and ensure the probe diameter fits standard residential drain openings.
Choosing a Borescope for Automotive and Mechanical Work
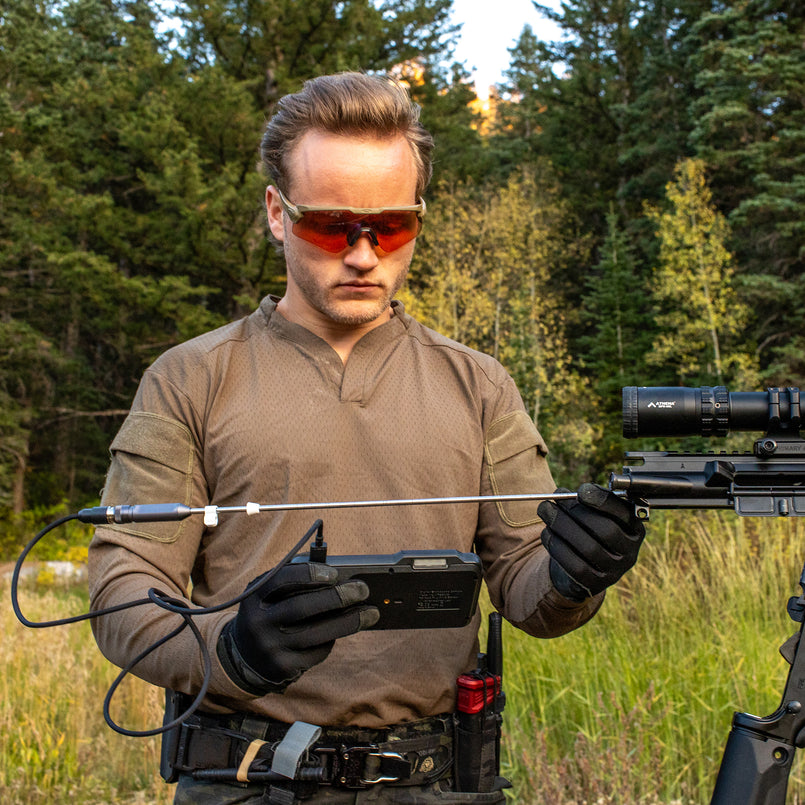
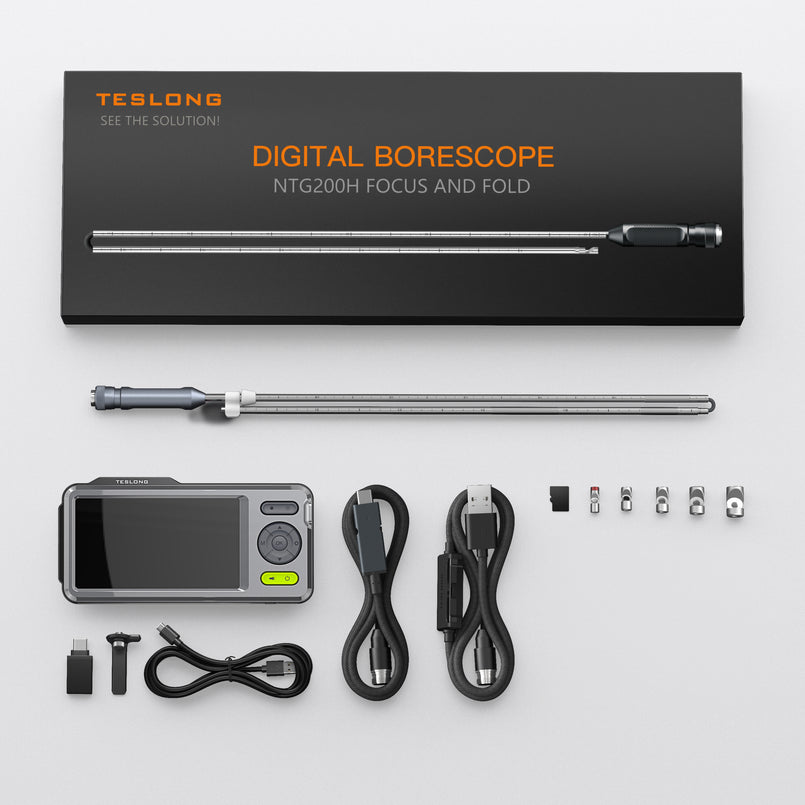
Engine and mechanical inspections present unique challenges that demand specific capabilities. You need a cable rigid enough to hold position inside engine bays and cylinder chambers without drooping, allowing you to aim the camera precisely at suspect areas like valve seats or piston rings. Resolution matters more here than in plumbing—fine cracks, carbon deposits, and wear patterns require at least 1080p clarity to distinguish genuine damage from shadows. A wide field of view (ideally 70 degrees or more) lets you survey larger areas without constantly repositioning the probe. Brands like Teslong offer models specifically designed for automotive applications, with reinforced cable sheathing built to withstand oil, heat residue, and sharp metal edges. Consider shorter, stiffer probes that give you maximum control in compact mechanical spaces.
Optimal Borescopes for General Home Inspection and Electronics
General home inspections and electronics work reward versatility over specialization. A thin, flexible cable—ideally 5.5mm or smaller—lets you slip through narrow gaps in wall cavities, behind appliances, and into electronic enclosures without causing damage. You don’t necessarily need the highest waterproof rating for these tasks, so an IPX7 model typically suffices while keeping costs reasonable. Adequate LED lighting with adjustable levels prevents washing out small components or circuit boards during close-up viewing. Resolution of 720p works acceptably for identifying structural issues, pest evidence, or loose connections. Prioritize smartphone compatibility for convenience, since you’ll often work in awkward positions where holding a separate display is impractical. This category offers the best value for DIYers who tackle varied projects rather than specializing in one area.
Practical Tips for Using Your DIY Tool Effectively
Getting the most from your borescope starts before you even power it on. Clean the camera lens with a microfiber cloth, fully charge the battery or confirm your phone’s connection stability, and mentally map out the path you’ll be inspecting. If you’re entering a pipe, measure the approximate distance to your target area so you know how much cable to feed in. Attach any included accessories—like a mirror or hook attachment—before insertion rather than struggling to swap them mid-inspection.
During the inspection itself, move the probe slowly and deliberately. Rushing creates blurry footage and makes it easy to miss hairline cracks or small obstructions. When you spot something concerning, hold the camera steady and capture a photo or short video for reference—comparing images over time helps you track whether a minor issue is worsening. Keep in mind that what appears alarming on screen may simply be a shadow or reflection; adjust your LED brightness up and down to confirm whether a dark spot is actual damage or just a lighting artifact. Rotate the probe gently to view surfaces from multiple angles before drawing conclusions.
After each use, wipe down the cable and probe with a damp cloth, paying extra attention if it contacted grease, chemicals, or sewage. Coil the cable loosely to avoid kinking, which degrades the internal wiring over time. Store the unit in a protective case away from extreme temperatures. For safety, never insert a borescope into spaces with live exposed electrical wiring unless the cable is specifically rated for it, and avoid forcing the probe past resistance—you risk snapping the cable or damaging whatever structure you’re inspecting.
Matching the Right Borescope to Your DIY Workflow
Choosing the right borescope comes down to honest self-assessment about how you’ll actually use it. Match the waterproof rating to your environment—IPX8 for regular plumbing work, IPX7 for occasional wet encounters. Align resolution and cable rigidity with your primary projects, whether that’s scrutinizing engine cylinders at 1080p or threading a flexible probe through wall cavities. The affordable borescope market delivers genuine value today, but only when you understand which specifications matter for your tasks and which are marketing fluff you can safely ignore.
A well-chosen borescope inspection camera fundamentally changes how you approach DIY work. It replaces assumptions with evidence, turns blind spots into clear visuals, and gives you the confidence to tackle projects that once seemed intimidating or required expensive professional diagnostics. Rather than chasing the most feature-packed model or defaulting to the cheapest option available, invest in the tool that fits your specific workflow. Identify your most common inspection scenarios, prioritize the two or three features those scenarios demand, and select accordingly. That targeted approach ensures every dollar spent translates into a tool you’ll reach for again and again.